In This Article
There is a special kind of worry that comes from hearing water where it should not be. A faint drip inside the bedroom wall. A musty smell near the baseboard. A soft spot in the drywall that was not there last month. And with that worry comes one big fear: to find a leak behind a wall, someone will have to tear the wall open. Dust everywhere, a big repair bill, and days of mess. The good news is that this fear is mostly outdated.
Today, trained leak detection specialists can find a leak behind a wall without demolition in most cases. Using tools like thermal imaging cameras, acoustic sensors, and moisture meters, they can see what the eye cannot see and hear what the ear misses. The result is a small, precise mark on the wall that says: the leak is right here. This article explains the tools, the process, and what to expect when you call a pro in Lynnwood, WA.
Why Homeowners Fear Wall Leaks
It is completely normal to dread a hidden wall leak. Walls hide pipes, and pipes hide problems. Unlike a dripping faucet, a wall leak gives you no clear target. You only get clues: a stain that keeps growing, paint that bubbles for no reason, or a water bill that climbs month after month. By the time the damage is visible, the leak may have been active for weeks.
The fear is not really about the leak itself. It is about the unknown repair that comes with it. Homeowners picture a contractor cutting open half the living room wall, dust coating every surface, and then a drywall crew, a texture crew, and a painter each making separate visits. That picture comes from the old way of doing things. Modern leak detection works very differently, and it starts with finding the exact source before anyone touches a saw.
Why the Old "Cut and Look" Approach Fails
For decades, the standard method was simple: cut a hole, look inside, and if you do not see the leak, cut another hole. This exploratory demolition creates a trail of damage. Every opening needs patching, texture matching, and repainting. One hole becomes three, then five, and the repair cost grows with each cut. Water also travels. It runs along pipes, drips down studs, and soaks into insulation far from the actual break. That means the visible stain is often not where the leak is, so blind cutting frequently misses the source entirely.
There is another cost factor people forget: cleanup and time. Drywall dust gets into vents, carpets, and electronics. Matching old texture and paint is skilled work, and it takes scheduling. A leak detection visit that pinpoints the source to within a few inches changes the whole equation. Instead of exploratory demolition, the repair crew opens one small, planned patch. That is why professionals invest in non-invasive tools first.
The Non-Invasive Toolkit Pros Use to Find a Leak Behind a Wall
No single tool does the whole job. Professionals layer several methods, and each one confirms the others. Here is the toolkit, and what each instrument actually does.
Thermal Imaging Cameras
An infrared camera reads surface temperature, and water changes the temperature of building materials. As moisture evaporates from drywall or wood, it cools the surface, so a leak often shows up as a cooler patch or a spreading pattern on the thermal image. A trained technician does not just look for a cold spot. They read the shape of the pattern, which reveals how water is moving inside the wall. Our thermal imaging leak detection service uses this as the first wide scan, and you can read more in our guide to thermal imaging for leak detection.
Acoustic Listening Devices
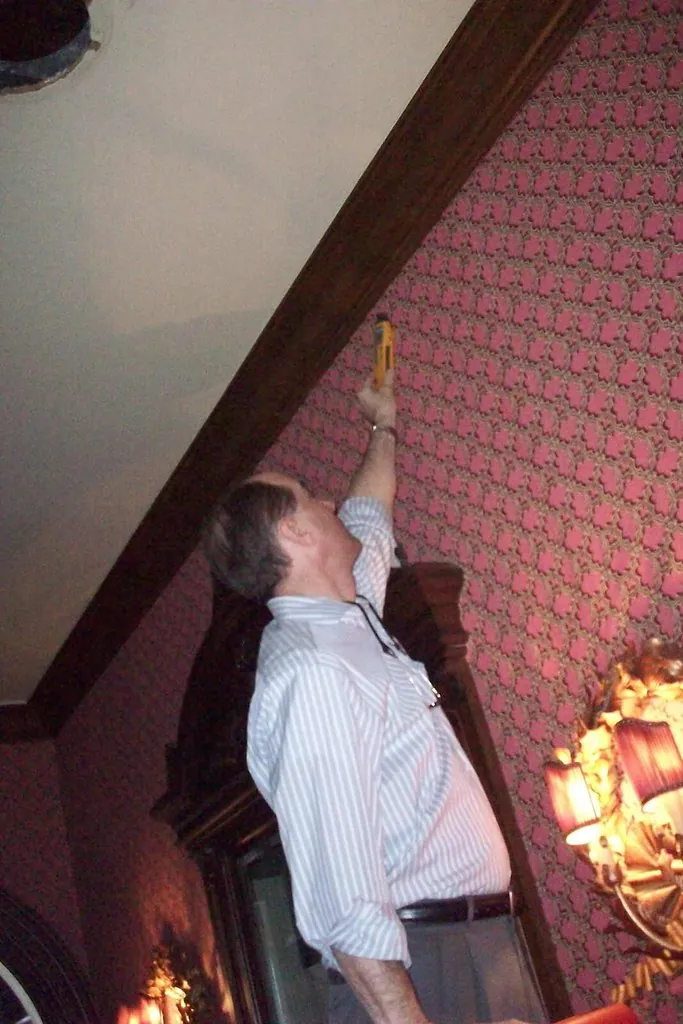
Water escaping a pressurized pipe makes a distinct hissing or rushing sound, even when it is completely silent to your ear. Acoustic sensors and listening discs amplify these vibrations. The technician moves the sensor along the wall, and the sound grows louder as they approach the leak. This method is especially strong for supply line leaks, because the water pressure keeps the sound going. It works through drywall, plaster, and even tile, which makes it one of the most trusted tools in the trade.
Pin-Type and Pinless Moisture Meters
Moisture meters measure how much water is inside building materials. Pinless meters scan the wall surface without leaving a mark, giving fast readings across a wide area. Pin-type meters use two tiny probes for precise depth readings at specific points. Used together, they map the full spread of moisture. That map matters, because the wettest point usually sits closest to the source. Our article on how professionals use moisture meters explains the mapping process in detail.
Inspection Cameras and Borescopes
When a pro needs eyes inside the wall, a borescope camera goes through a hole about the size of a pencil eraser. Often the camera can enter through an existing opening, like a removed outlet cover or a small drilled spot hidden behind a baseboard. The live video shows the pipe, the fittings, and exactly where water is escaping. This is visual proof, and it removes all guesswork before the repair crew arrives.
Tracer Gas
For the trickiest leaks, technicians pump a safe mix of hydrogen and nitrogen into the pipe. Hydrogen molecules are extremely small, so they escape exactly at the leak point and rise through the wall. A sensitive sniffer then detects the gas above the wall surface. Because the gas only escapes where the pipe is broken, tracer gas gives one of the most precise confirmations available.
Signs You May Have a Leak Behind a Wall
Before you call, it helps to know what to watch for. If you notice any of these, a hidden wall leak is a strong possibility:
- A musty or damp smell that does not go away, even after cleaning
- Paint that bubbles, peels, or wallpaper that starts lifting at the edges
- Brown or yellow stains that keep growing on a wall or ceiling
- A warm spot on a wall or floor, which can point to a hot water line leak
- The sound of dripping or running water when every tap is off
- A water bill that keeps climbing with no clear change in your usage
Step by Step: How a Pro Pinpoints a Wall Leak
Here is what a professional visit actually looks like, from the first knock on the door to the final mark on the wall:
- Interview and visual check. The technician asks about the symptoms, checks the water meter, and looks for visible clues like stains, warped baseboards, or warm spots.
- Thermal scan. The infrared camera sweeps the suspect walls and ceilings, mapping temperature patterns that suggest hidden moisture.
- Moisture mapping. Pinless and pin-type meters measure the wet areas and draw the boundary of the damage, pointing back toward the source.
- Acoustic listening. The listening sensor moves along the wall to find where the leak sound is loudest, narrowing the location to a small zone.
- Cross-check and mark. The technician compares the thermal pattern, the moisture map, and the sound location. When all three agree, the spot gets marked.
- Confirm if needed. For difficult cases, a borescope camera or tracer gas provides final visual or chemical proof before any cutting happens.
The best wall repair is the one you can barely see afterward. Finding the exact spot before anyone picks up a saw is what makes that possible.
When a Small Opening Is Still Necessary
Sometimes the tools get you 95 percent of the way there, and the final confirmation needs a quick look inside the wall. When that happens, a professional makes a surgical opening, often just a few inches square, placed where it is easy to hide, like behind a baseboard, inside a closet, or above a door frame. Compare that to the old approach: a four-inch test square versus a four-foot exploratory hole. The difference in patching cost and mess is enormous.
Which Method Works Best for Your Wall Type
Different wall materials respond differently to each tool. This quick reference shows how the methods compare:
| Detection Method | Drywall | Plaster | Tile | Best Use |
|---|---|---|---|---|
| Thermal imaging | Excellent | Good | Fair | Wide first scan of large areas |
| Acoustic listening | Excellent | Excellent | Good | Pressurized supply line leaks |
| Pinless moisture meter | Excellent | Good | Fair | Mapping moisture spread fast |
| Pin-type moisture meter | Good | Good | Good | Precise depth readings |
| Borescope camera | Excellent | Excellent | Good | Visual proof inside the cavity |
| Tracer gas | Excellent | Excellent | Excellent | Confirming tricky or slow leaks |
Conclusion: Find the Leak First, Then Fix It Once
Finding a leak behind a wall no longer means tearing your home apart. With thermal imaging, acoustic sensors, moisture meters, and inspection cameras, a trained specialist can trace the problem to its exact source and mark it with confidence. That precision is what turns a scary, open-ended repair into one small, planned patch.
If you suspect a hidden wall leak in Lynnwood or anywhere in Snohomish County, call ProLine Leak Fix Pros at (425) 380-0028. We will pinpoint the source without unnecessary demolition, so your repair stays small, fast, and done right the first time. Call for availability.