In This Article
Tile and grout water damage is one of the most expensive surprises a homeowner can face. Your shower looks clean and solid, but behind those pretty tiles, water may be soaking into the wall cavity every time someone showers. By the time you notice loose tiles, stained grout, or a musty smell, the damage behind the surface can already be serious. This guide explains how tile and grout let water in, the warning signs to watch for, and what to do before a small grout problem turns into a full bathroom rebuild.
The tricky part is that tile and grout were never meant to keep water out on their own. They are the visible finish over a hidden waterproof system. When that system fails, or when grout breaks down and gives water a path in, the damage grows quietly for months before it shows.
Warning Signs of Tile and Grout Water Damage
Most tile and grout water damage announces itself with small changes that are easy to dismiss. Catching them early is the difference between a weekend regrout job and tearing out a shower:
- Grout that stays dark or damp long after the shower is used. Healthy grout dries out. Grout that never lightens is holding moisture from behind.
- Cracked, crumbling, or missing grout between tiles, especially along corners and where the wall meets the floor or tub.
- Loose or hollow-sounding tiles. Tap tiles lightly with your knuckle. A hollow thud instead of a solid click means the bond has broken, often because of moisture behind the tile.
- White, chalky deposits (efflorescence) on grout lines. These mineral deposits appear when water moves through tile backing and evaporates at the surface.
- A musty smell in the bathroom that returns no matter how much you clean. Odor comes from dampness trapped where cleaning cannot reach.
- Soft or swollen drywall near the shower, or paint and wallpaper bubbling on the bathroom side of a shared wall.
- Water stains on the ceiling below an upstairs bathroom. This is a strong sign that water is getting past the tile system and into the structure.
One warning sign alone might be cosmetic. Two or three together usually mean water is going where it should not. That is the point where a professional moisture intrusion inspection pays for itself, because it maps exactly how far the wetness has spread before you commit to a repair.
Why Grout Fails and Lets Water Through
Grout is basically sand and cement. It is porous by nature, and even sealed grout only slows water down. Here are the most common reasons grout gives up and lets water into the wall or floor assembly:
- Sealer wears off. Grout sealer is not permanent. In a shower used daily, it can wear through in a year or two, leaving raw porous grout exposed to constant water.
- Normal house movement. Homes settle and flex with the seasons. Tile is rigid, so stress concentrates at grout joints, creating hairline cracks that grow over time.
- Harsh cleaners. Bleach-based and acidic bathroom cleaners erode grout with every use. They dissolve the cement that holds the grout together.
- Poor original installation. Grout mixed too wet, not packed fully into joints, or cured too fast develops weak spots that crumble early.
- Age. Even well-installed grout has a lifespan. After a decade or more in a wet shower, breakdown is normal, not a sign of defective work.
Once grout opens a path, water soaks into the cement backer board or mud bed behind it. Those materials can handle occasional moisture, but they cannot dry out when water arrives every single day. That is when mold growth and material breakdown begin.
The Hidden Role of Your Shower Pan
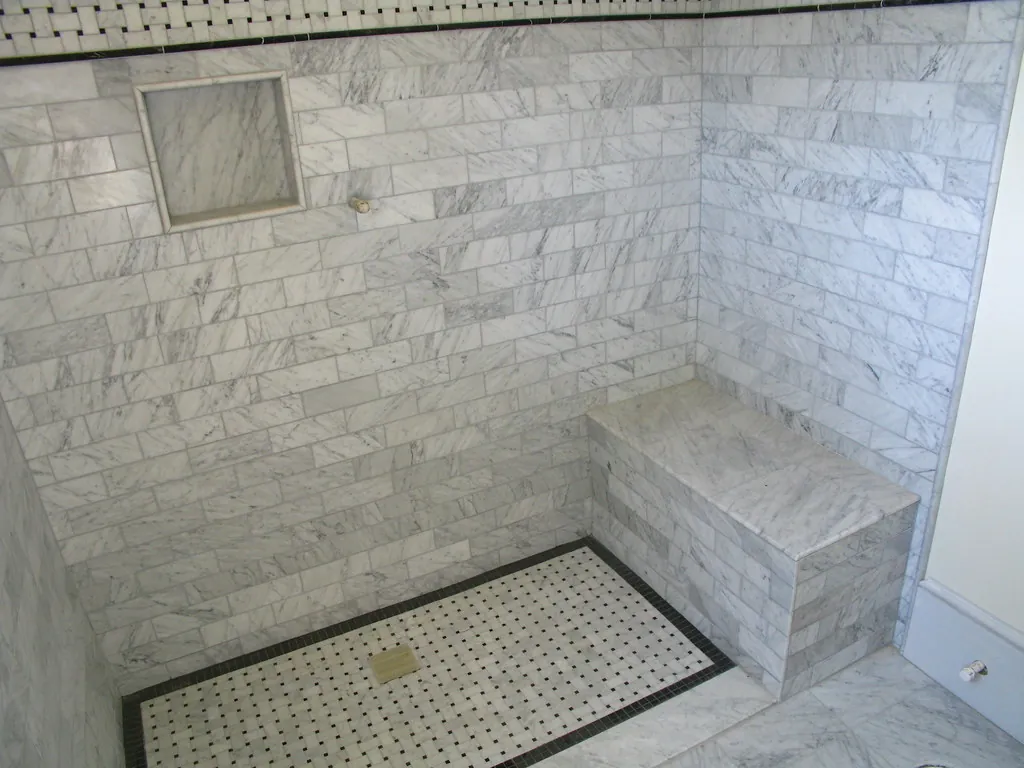
Under every tile shower floor sits a waterproof membrane, often called the shower pan liner. This liner is the real waterproofing. The tile and grout above it are just the walking surface and the decoration.
A healthy pan liner catches any water that slips through the grout and channels it to the drain. But liners fail. Common failure points include corners that were folded instead of sealed, punctures from nails or screws during installation, and clamping ring failures at the drain. When the liner fails, water drains into the subfloor instead of into the drain pipe.
Signs that point to a shower pan problem rather than a grout problem include:
- Water appearing on the ceiling below only when the shower runs, not when the tub or sink runs.
- A stain that grows directly beneath the shower footprint.
- Floor tiles near the drain that rock or feel spongy underfoot.
- The shower curb swelling or the drywall at the curb base softening.
A failed pan liner cannot be fixed from above the tile. Repair means removing the shower floor, and that is why pan failures are among the costlier bathroom repairs. Confirming the diagnosis with professional water leak detection before demolition keeps the repair targeted instead of exploratory.
How to Test a Tile Shower for Leaks
Before calling anyone, you can run a few simple checks that narrow down the problem. Work through them in order:
- Visual scan. Look at every grout line and corner with a flashlight. Mark cracked or missing grout with painter's tape so you can track whether it spreads.
- Tap test. Knock on tiles across the walls and floor. Note every hollow-sounding tile and where it sits. Clusters near the floor or drain point to floor-level problems; scattered hollows suggest bond failure.
- Flood test for the pan. Plug the drain with a test plug or a rubber ball, fill the shower base with two to three inches of water, and mark the water line. Wait 15 minutes, then check the ceiling or room below. If the water level drops and the level below is wet, the pan liner is leaking.
- Spray test for walls. Run the showerhead aimed at one wall section at a time for several minutes while someone watches below or behind with a flashlight. Wetness that follows the spray points to wall leaks; wetness that appears regardless points to the pan or drain.
- Moisture meter readings. A pin-type moisture meter pressed against drywall near the shower gives you numbers instead of guesses. Readings that climb over days of normal use confirm active moisture.
Tile and grout are not the waterproof layer. They are the finish over a waterproof system, and when that system fails, water damage follows every single day.
If your tests are inconclusive but the signs keep showing up, thermal imaging can reveal the wet area behind tile without removing anything. Our leak detection team serving Alderwood and the rest of Lynnwood uses this approach to pinpoint bathroom leaks before any tile comes up.
Repair Options for Tile and Grout Water Damage
The right repair depends on how far the water has gone. Fixing only the surface when the structure is wet wastes money, and rebuilding when a regrout would do wastes even more. This table maps the situation to the repair:
| Damage Level | Repair Approach | What It Involves |
|---|---|---|
| Surface grout wear | Regrout and reseal | Scrape out damaged grout, install new grout, apply a quality sealer |
| Loose tiles, sound walls | Spot tile reset | Remove and rebond the affected tiles with fresh mortar and grout |
| Failed pan liner | Shower floor rebuild | Remove the floor, install a new liner and drain assembly, retile |
| Wet backing board, no rot | Partial surround rebuild | Remove tile and board on affected walls, install new waterproofing, retile |
| Rotted framing or subfloor | Full shower rebuild | Remove the surround, replace damaged framing and subfloor, rebuild from scratch |
A word of caution about quick fixes: painting over damaged grout with epoxy coatings or smearing caulk over cracks can trap moisture that is already inside the wall. Sealants applied to a wet assembly lock the water in and make the hidden damage worse. Always confirm the wall is dry before sealing anything.
When Damage Reaches Behind the Wall
Once water gets behind tile, it follows gravity and framing. It runs down studs, pools on bottom plates, and wicks into the subfloor. Wood framing can stay wet for months without any visible sign in the bathroom itself. The first hint is often a stain on a ceiling two floors down or a baseboard that has swollen in an adjacent room.
This is the stage where guesswork gets expensive. Opening walls at random to find wetness turns a targeted repair into a renovation. Moisture meters, thermal cameras, and borescopes let a technician trace the wet path precisely and mark exactly which areas need to open and which can stay closed. A moisture intrusion inspection documents the full extent of the damage, which also helps if you need to talk to your insurance company.
Two more things worth knowing at this stage. First, mold often grows on the back side of drywall where you cannot see it, even when the bathroom side looks clean. Second, if the damage is from a long-running seep rather than a sudden burst, insurers may treat it as a maintenance issue, so documenting the timeline matters.
Preventing Tile and Grout Water Damage
Most tile and grout water damage is preventable with simple, boring maintenance. Add these to your yearly routine:
- Reseal grout once a year in the shower. A water bead test tells you when it is due: if water soaks in instead of beading, the sealer is gone.
- Recaulk corners and edges where the wall meets the tub, floor, and fixtures. Caulk flexes; grout in corners cracks.
- Run the exhaust fan during and for 20 minutes after every shower. Steam is moisture too, and it soaks grout from the air.
- Repair cracked grout promptly. A hairline crack this month is a missing grout chunk next year.
- Use pH-neutral cleaners on tile and grout. Save the harsh chemicals for the toilet bowl, not the shower walls.
- Squeegee shower walls after use. It takes 30 seconds and removes most of the standing water that grout would otherwise absorb.
- Inspect yearly. Once a year, tap-test the tiles and look over every grout line with a flashlight. Five minutes of attention beats five thousand in repairs.
Act Early on Tile and Grout Water Damage
Tile and grout water damage rewards early action and punishes delay. A cracked grout line caught this month is a tube of grout and an afternoon. The same crack ignored for a year can mean rotted framing, a failed shower pan, and a full rebuild. Watch for the signs, run the simple tests, and do not seal over a problem you have not diagnosed.
If the signs point to water behind the tile or under the shower floor, call ProLine Leak Fix Pros at (425) 380-0028. We find hidden bathroom leaks across Lynnwood and Snohomish County with thermal imaging and moisture mapping, so your repair starts with facts, not guesswork.