In This Article
A tile shower leak test is the fastest way to find out whether your tile shower is the source of a mysterious stain, a musty smell, or a climbing water bill. Tile showers look solid, but tile and grout are not waterproof. The real waterproofing is a hidden membrane or pan liner underneath, plus properly sealed joints. When any part of that system fails, water escapes into the wall or floor, and the damage stays hidden until it is serious.
This guide walks you through five practical tests any homeowner can do: the bucket test for the shower pan, a close grout and tile inspection, a valve and shower head check, a door and curb splash test, and a simple dye test. You will learn what each test reveals, what your results mean, and when it is time to call a professional. If your Lynnwood home already shows signs of water damage, call ProLine Leak Fix Pros at (425) 380-0028.
Why Tile Showers Leak
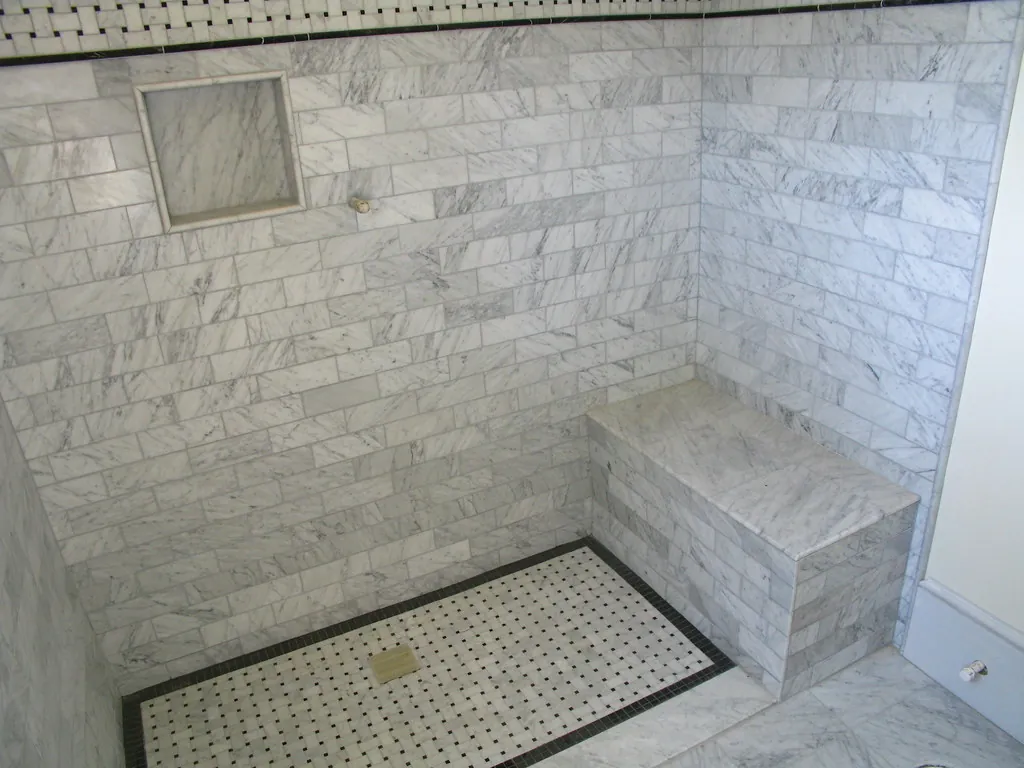
Understanding the construction helps you test the right things. A traditional tile shower has layers: tile on top, mortar bed beneath, and a waterproof pan liner or membrane under that, sloped toward the drain. The liner is the actual waterproofing; the tile is the wearing surface.
Leaks happen when:
- The pan liner is punctured, improperly lapped at corners, or missing a proper dam at the curb.
- Grout cracks and lets water saturate the mortar bed faster than it can drain to the weep holes.
- The drain assembly leaks where it meets the liner.
- The valve, shower arm, or spout connections leak inside the wall.
- Caulk at the curb, corners, and fixtures fails and lets water behind the tile.
- Weep holes at the drain clog, so the mortar bed stays saturated and water wicks outward.
The tricky part is that several of these produce identical symptoms: a stain on the ceiling below, damp grout that never dries, or a musty smell. Testing each component separately is how you isolate the real source.
Tile Shower Leak Test 1: The Bucket (Pan) Test
This is the classic test for the shower pan liner. It checks whether the waterproofing under the tile holds water.
- Remove the drain cover and plug the drain. A test plug or even a tightly fitted rubber stopper works. Do not use anything that could damage the drain.
- Fill the shower base with about 1 to 2 inches of water. Keep the water level below the curb top and below the door threshold.
- Mark the water level with a piece of tape on the tile or curb.
- Wait. Leave the water standing for at least 4 hours, ideally overnight. Do not use the shower during the test.
- Check the level. If the water dropped noticeably, the pan liner or drain assembly is leaking.
Also check below and around the shower during the test. New damp spots on the ceiling below or on adjacent walls confirm that standing water is escaping the pan.
The bucket test is the single most useful tile shower leak test. It isolates the pan liner completely: no spray, no valve, no splash, just the waterproofing doing its job or failing at it.
Test 2: The Grout and Tile Inspection
Before running any water, inspect the tile surfaces closely:
- Look for cracked, crumbling, or missing grout in the floor, corners, and around the drain. Grout is not waterproof, but failed grout lets water flood the mortar bed.
- Tap tiles lightly. Solid tiles sound firm; hollow or drummy tiles have lost their bond, often because moisture broke down the mortar behind them.
- Check for efflorescence, the white mineral crust that forms when water migrates through tile and grout and evaporates. It is a sign of chronic moisture behind the surface.
- Look at the caulk lines at corners, the curb, and where the tile meets fixtures. Cracked or missing caulk is an open door for water.
- Note any tiles that stay dark or damp long after the shower dries. Persistent damp patches point to saturated mortar underneath.
Damaged grout alone rarely causes major leaks in a properly built shower, because the liner catches what gets through. But damaged grout combined with a compromised liner is how small problems become big ones.
Test 3: The Valve and Shower Head Check
Valve and supply leaks are pressurized, so they behave differently from pan leaks. They leak even when the shower has not been used.
- Do the meter test first. Turn off all water in the house and watch the meter for 15 minutes. Movement points to a pressurized leak, which a pan test will never find.
- Inspect the trim. Look for drips or moisture around the handle trim plate, the shower arm escutcheon, and the tub spout. Feel behind the trim plate with a fingertip for dampness.
- Check the opposite side of the wall. The back of the shower wall is often a closet or hallway. Look and feel for stains, soft drywall, or musty smells at valve height.
- Run the shower and watch the wall. With the shower running, look for water seeping from behind trim plates or running down inside the wall opening.
If the meter moves with everything off and the bucket test passes, the leak is almost certainly in the pressurized plumbing: the valve, the shower arm connection, or a supply line. That calls for professional water leak detection in Lynnwood with acoustic and thermal equipment.
Test 4: The Door, Curb, and Splash Test
Not every "shower leak" is a plumbing failure. Sometimes water simply escapes the shower enclosure:
- Run the shower normally and watch the door or curtain area. Water that splashes over the curb or escapes past the door seals runs down the outside of the curb and soaks the bathroom floor and subfloor.
- Check the curb top. The curb should slope slightly back into the shower. A level or outward-sloping curb sends water onto the bathroom floor with every shower.
- Inspect door seals and sweeps. Worn vinyl sweeps and seals let a surprising amount of water escape, especially with a shower head aimed at the door.
- Look for water on the bathroom floor after a normal shower. Regular floor wetting outside the shower rots the subfloor around the shower base over time.
Splash leaks are good news in one sense: they are usually fixed with new seals, a redirected shower head, or better caulk, not a shower rebuild.
Test 5: The Dye Test
A dye test helps you trace where escaping water travels:
- Add food coloring or a dye tablet to the standing water in the bucket test, or pour dyed water along suspect grout lines and the curb.
- Check the ceiling below, adjacent walls, and the access area behind the shower over the next few hours.
- If colored water appears, you have traced the exact path the leak takes, which tells the repair contractor exactly where to open up.
Use a strong color and protect surfaces you do not want stained. The dye washes off tile easily but can stain grout and fabrics, so apply it carefully.
Reading Your Results: What Each Test Tells You
| Test result | What it means | Likely next step |
|---|---|---|
| Bucket test: water level drops | Pan liner or drain assembly is leaking | Professional inspection; pan repair or shower rebuild |
| Bucket test: level holds, stains still appear | Leak is not the pan; suspect valve, grout, or splash | Run the valve check and splash test |
| Meter moves with water off | Pressurized supply or valve leak | Professional leak detection with acoustic equipment |
| Hollow tiles and efflorescence | Chronic moisture behind the tile | Inspection for liner failure and mortar saturation |
| Water escapes the door or curb | Splash containment failure, not a plumbing leak | New seals, caulk, or curb correction |
| Dye appears below or behind | Confirmed leak path traced | Targeted repair at the traced location |
Write down your results for each test before calling a professional. A clear test history saves diagnostic time and helps the technician go straight to the most likely source.
When to Call a Leak Detection Professional
DIY tests are excellent for narrowing the field, but some situations need professional equipment:
- The bucket test fails and you need to know exactly where the liner is breached before committing to a rebuild.
- The meter moves but you cannot find the source by inspection.
- Stains are spreading but every DIY test passes, which can mean a slow leak in an unexpected place.
- There is visible mold, sagging drywall, or structural softness, which needs a full moisture map before repair.
- You are buying or selling the home and need documented findings.
Professional detection uses moisture meters to map dampness through walls and floors, thermal imaging to see cold wet areas inside cavities, and acoustic equipment to hear pressurized leaks. The result is a precise location instead of exploratory demolition. Our thermal imaging leak detection service is particularly effective for tracing shower leaks through walls and ceilings.
Preventing Tile Shower Leaks
- Keep grout sealed and intact. Repair cracked grout promptly and reseal grout lines on a regular schedule.
- Maintain the caulk. Recaulk corners, the curb, and fixture joints with 100% silicone at the first sign of cracking.
- Keep weep holes clear. The small gaps around the drain that let the mortar bed drain must stay open. Do not seal them shut.
- Ventilate well. Running the exhaust fan during and after showers helps the mortar bed and grout dry between uses.
- Fix drips quickly. A dripping valve keeps the shower wet around the clock and accelerates every other failure.
- Test the pan every few years. An overnight bucket test is cheap insurance, especially in showers over 10 years old.
Test Before You Guess
A tile shower leak test turns a worrying mystery into a defined problem with a defined fix. The bucket test tells you about the pan, the meter test tells you about the plumbing, the splash test tells you about containment, and the dye test traces the path. Together, they answer the question every homeowner with a stained ceiling is asking: where is the water coming from?
If your tests point to a failed pan, a hidden valve leak, or damage that is already spreading, do not wait for it to get worse. Call ProLine Leak Fix Pros at (425) 380-0028 for professional leak detection across Lynnwood and Snohomish County. We will pinpoint the source so the repair fixes it the first time.