In This Article
A tap that worked yesterday gives you nothing this morning, and the night was bitter cold. A frozen pipe is likely, and how you thaw it matters: done gently, it is a minor morning problem, but done with the wrong heat it can split the pipe or start a fire.
This guide shows you how to find the frozen section, thaw it safely step by step, what never to do, and how to watch for the split that freezing may already have caused.
First, Find the Frozen Section
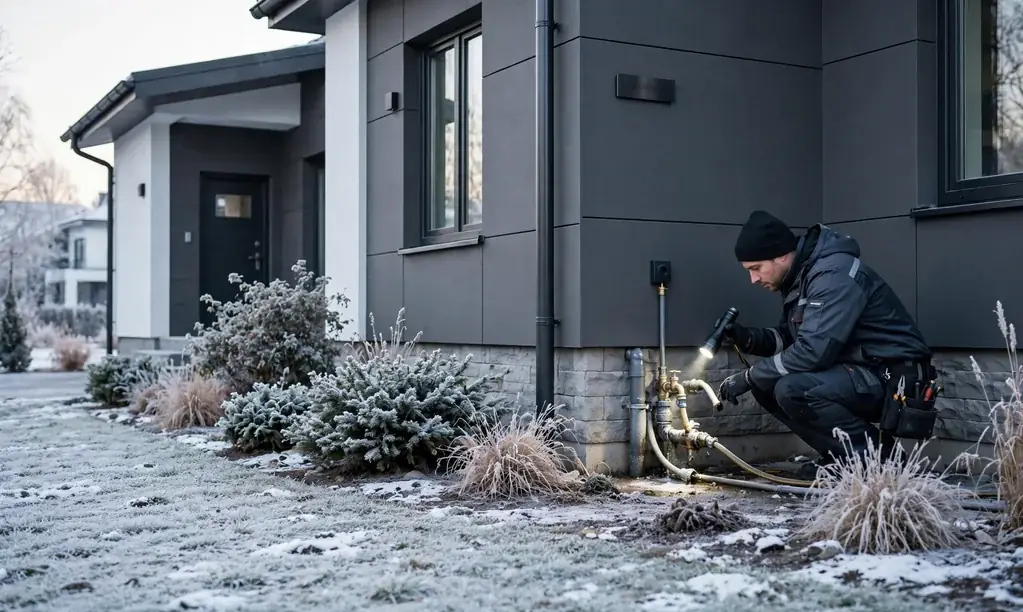
Frozen sections hide in predictable places: pipes along outside walls, in unheated crawl spaces and garages, under kitchen and bathroom sinks on exterior walls, and in attics. On a cold Lynnwood morning, start with the tap that stopped working and work backward along its line.
Clues are physical. The frozen part of a pipe often feels colder than the rest, may show frost on its surface, and can bulge slightly where ice has expanded. Turn the affected tap on and leave it open before you begin. An open tap lets melting water and steam escape, relieves pressure as the ice clears, and tells you the moment flow returns.
If several taps are out, suspect the main entry or a shared run rather than one branch. Work from the entry point outward, warming the coldest exposed sections first. In homes with a crawl space, bring a flashlight and check for frost patterns along the whole run, not just under the silent tap. The frozen plug is often a few feet away from where you first expect it.
Safe Thawing, Step by Step
Gentle and patient wins. Follow this order:
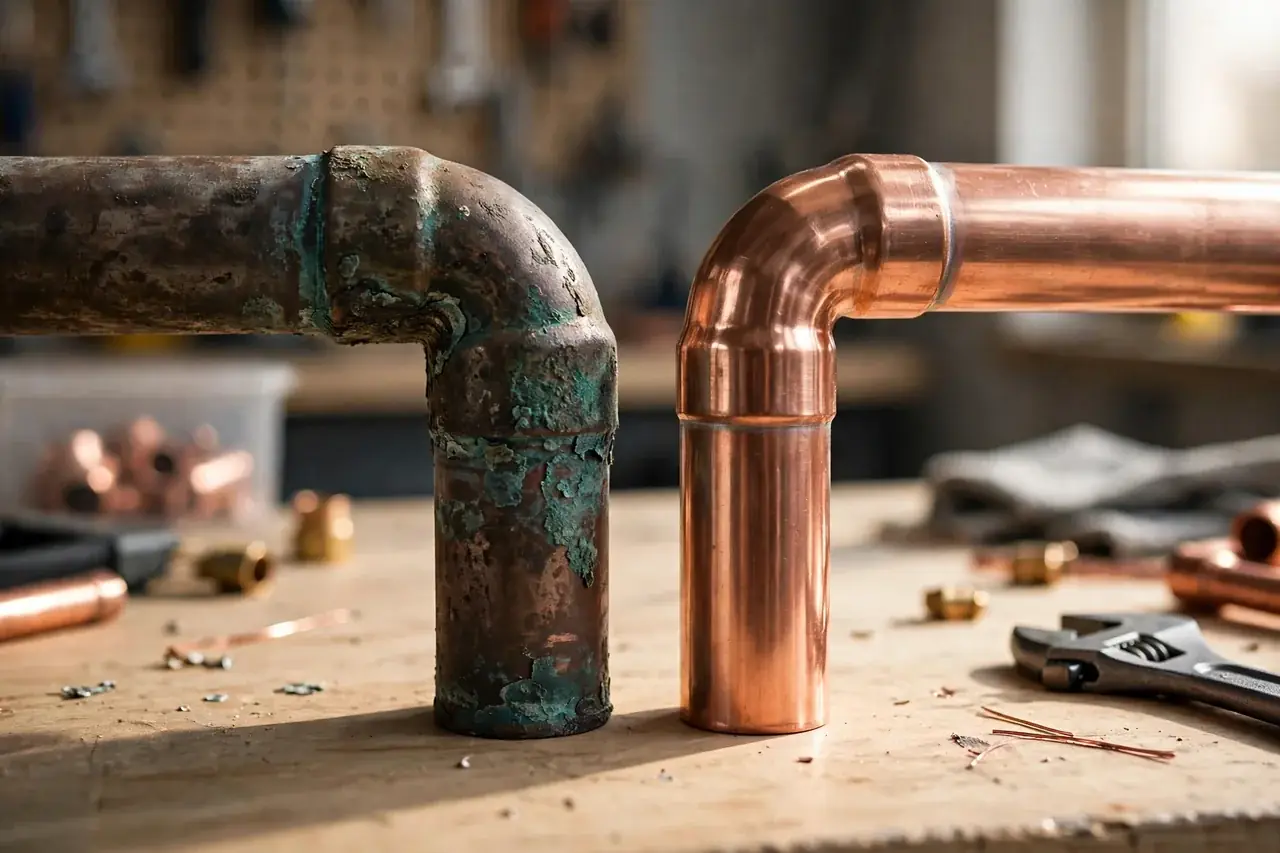
- Open the tap served by the frozen pipe and keep it open while you work.
- Start near the tap and move toward the coldest section, so melting water can flow out instead of building pressure behind the ice.
- Apply gentle heat with a hair dryer on a low setting, a portable space heater kept at a safe distance, or towels soaked in warm water and wrapped around the pipe.
- Warm the room too. Open cabinet doors under sinks so house heat reaches the pipes, and raise the heat in the affected area.
- Keep going until full flow returns, then let the tap run briefly and check the thawed section closely for drips.
Work slowly. A pipe that thaws in minutes with harsh heat is a pipe at risk of bursting or damaging joints.
Speed is a false friend here. Ice melts from the outside in, and the water trapped between the plug and a closed tap has nowhere to go as it expands. That is why the tap stays open and why you start thawing near it. If you hear creaking, pinging, or see a joint begin to sweat as you work, pause, let temperatures equalize, and resume gently rather than pushing more heat.
What Never to Do
Some methods turn a frozen pipe into a fire or a flood. Never use an open flame, a blowtorch, or a propane heater aimed at a pipe. Flame can ignite nearby wood, insulation, or dust, and it can also overheat one spot and weaken the pipe or its solder joints.
Never pour boiling water directly onto a frozen pipe or onto frozen fixtures, since sudden heat can crack porcelain and stress pipe walls. Never leave a space heater running unattended against a wall or cabinet, and never use electrical heating devices where standing water is present. If you cannot reach the frozen section safely, or it sits inside a wall, stop and get help rather than improvising with stronger heat.
There is one more method to leave alone: thawing with the home's own hot water system by forcing flow backward through lines. Improvised plumbing tricks like this can scald, over pressurize weak joints, or push dirty water into clean lines. Stick to surface warmth on the pipe itself. It is slower, but it is controlled, visible, and safe for both the pipe and the person holding the hair dryer.
Watch Closely as the Ice Lets Go
The dangerous moment is the thaw itself. Ice can plug a split pipe like a cork, so a pipe that was quietly frozen may start spraying the moment the ice clears. Stay nearby while thawing, keep towels and a bucket ready, and know where your main shutoff is before you start.
After flow returns, inspect the full length you can see and listen at the wall. Check the floor below, the ceiling underneath the pipe run, and any cabinet bases for new moisture. A slow drip at a joint may only appear under full pressure, so recheck the area again after an hour of normal use, and again the next morning.
Also check the spaces you cannot easily see once flow returns. A split in a crawl space may drip onto soil and stay invisible from above while it soaks the ground and invites moisture problems later. Shine a light along the full run, look for darkened soil or dripping insulation, and check again after the next freeze night, since a weakened joint sometimes survives the first thaw and fails on the second.
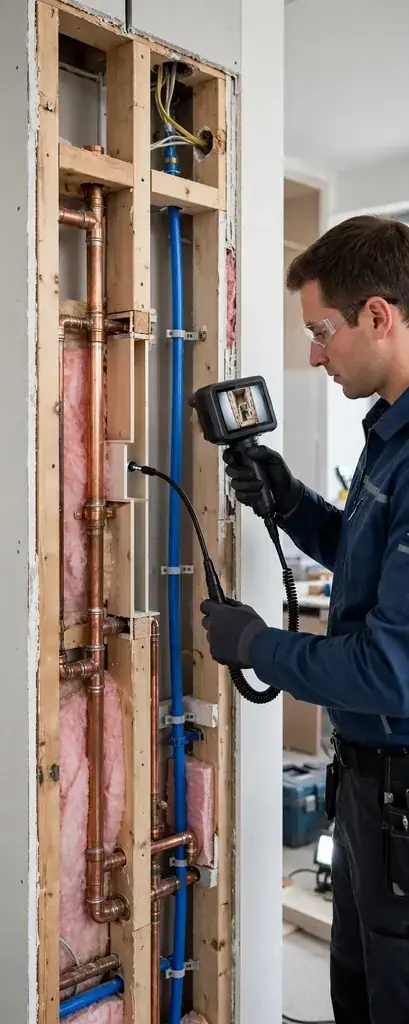
How Professionals Check for Hidden Freeze Damage
When a frozen pipe runs inside a wall, floor, or slab, the split is rarely visible. Professionals pressure test the line to confirm whether it holds, then use acoustic listening and thermal imaging to locate any escape point before a wall is opened. A thermal camera shows the cold wet pattern spreading from a hidden split, and a moisture meter maps how far the water has traveled.
That matters in Snohomish County cold snaps, where several pipes may freeze in one night. Confirming each damaged section precisely means repairs open only the wall or floor area that truly needs it. ProLine Leak Fix Pros handles that detection step with non invasive tools, so the repair that follows is targeted instead of exploratory.
Professionals can also advise on prevention once the damage is mapped. The same visit that locates a split can identify the cold air leak, missing insulation, or exposed run that caused the freeze, whether that is a vent blowing on a pipe in the crawl space or an uninsulated line against an outside wall. Fixing the cause in the same season keeps the next cold snap from repeating the whole episode.
Conclusion: Slow Heat, Open Tap, Careful Watch
Safe thawing is not complicated: open the tap, warm the pipe gently from the tap backward, and never reach for open flame. Then treat the thaw as a test, because the pipe may have split while it was frozen.
If you find spraying, dripping inside a wall, or a line that will not hold pressure, call ProLine Leak Fix Pros at (425) 380-0028. We will pinpoint the damage and help you stop a small split from becoming a soaked room.
Prevention for the next freeze is simple and cheap compared with a burst. Insulate exposed pipes, seal drafts near pipe runs, disconnect outside hoses, and let a vulnerable tap drip slowly during the coldest nights. Know your shutoff location before you need it. A pipe that froze once has told you exactly where your home is vulnerable, so believe it and prepare that spot first.