In This Article
The paint looked fine last spring. Now a patch by the window blisters like a sunburn, the corner by the tub is curling, and a strip along the baseboard peels if you look at it hard. Homeowners usually blame bad paint or an old paint job. Sometimes that is true. But paint that fails in patches, low on the wall or near plumbing, is usually reporting a moisture problem inside the wall itself.
This guide explains how trapped water defeats paint from behind, the patterns that separate a moisture failure from a simple paint failure, the short list of hidden sources, safe checks you can run, and how professionals confirm the source so you repaint once, not three times.
How Trapped Moisture Defeats Paint From Behind
Paint bonds to the surface of drywall or plaster. When water enters the wall from a leak, it soaks the board and pushes toward the dry side, carrying moisture right up to the back of the paint film. The paint cannot breathe fast enough, vapor pressure builds, and the film lets go. That is a bubble: paint separated from a damp surface, sometimes holding a drop of water inside. Peeling is the next stage, when the weakened bond fails in strips and the paper facing of the board comes away with the paint.
Efflorescence adds a second attack on masonry and concrete walls: water moving through the material dissolves salts and leaves them at the surface as a white crust, which lifts paint as it grows. In every case the pattern is the same. The finish fails because the wall is wet from within. Scraping and repainting treats the messenger. Until the water stops, the new coat sits on the same damp surface and fails the same way, often faster.
Patterns That Point to Water, Not Bad Paint
Location and shape are your best clues. Moisture failures cluster where water lives:
- Low on the wall: bubbling near baseboards suggests water wicking up from the floor or a leak at the wall base
- Around tubs and showers: peeling beside a surround points to splash water slipping past caulk or grout
- Under windows: blisters below a sill often mean rain intrusion at the frame or flashing
- One wall only: failure on the wall shared with a bathroom or kitchen implicates the plumbing inside it
- Stains plus bubbles: yellowing or brown edging with the bubbles means water carried dirt and tannins with it
A pure paint failure looks different. It tends to spread evenly across a whole room, follows sun baked walls, or appears where a glossy old coat was painted over without prep. Moisture failure is patchy, local, and often paired with a musty smell, soft spots in the board, or baseboards that are starting to swell. If pressing the bubbled area feels cool or the board behind feels soft, you are not dealing with a paint problem at all.
The Hidden Sources Behind the Bubbles
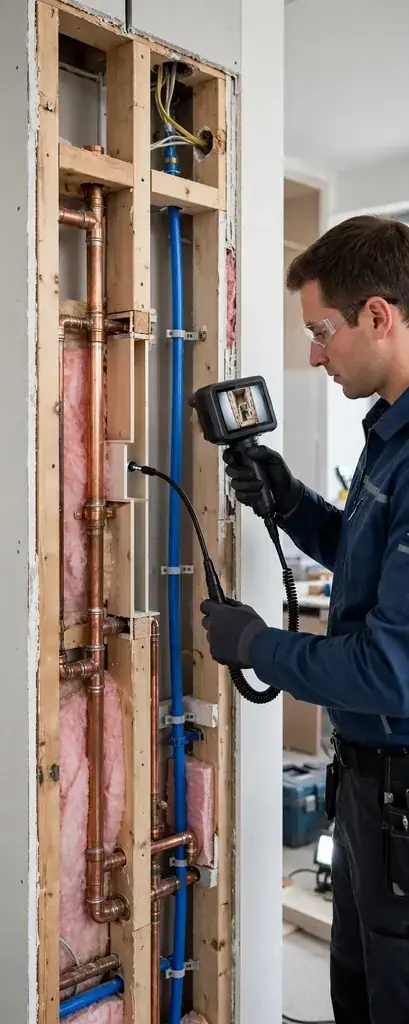
Inside a wall, the usual suspects are slow and quiet. A pinhole spray from a copper supply line can mist the inside of a wall cavity for months. A drain joint that weeps only when the tub empties or the washer drains leaks on a schedule tied to your routine. A shower valve or tub spout diverter can drip inside the wall where no one ever sees it. In Lynnwood's wet season, wind driven rain can also enter at siding joints, window frames, or a roof edge and wet the top of a wall, showing up as bubbles high on an exterior wall.
Condensation is the one non leak source worth ruling out. In a steamy bathroom with weak ventilation, surface moisture can soften paint over time. The giveaway is that condensation damage stays shallow and seasonal, worst in cold months on exterior walls, and the wall itself reads dry below the surface. A leak, by contrast, keeps the inside of the wall wet in every season and usually shows a clear wettest point that a meter can find.
It also helps to know what a healthy wall feels like, so the unhealthy one stands out. Run your palm over painted walls near plumbing every few months and learn the normal: flat, room temperature, firm under a gentle press. A wall that is quietly taking on water changes that feel before it changes its looks, turning slightly cooler, a touch softer at the base, or faintly uneven where the board has begun to swell. Your hand can catch that change weeks before bubbles announce it. Pair the touch check with a look at the same wall from the other side and at the floor below, because moisture problems rarely respect room boundaries. This small routine costs nothing, takes two minutes, and converts a surprise renovation into an early, cheap detection visit. Paint failure found at the cool and soft stage usually means the wall can be dried and saved. Paint failure found at the crumbling stage usually means the board comes out.
Safe Checks to Run Before You Scrape Anything
A few gentle checks sharpen the picture without opening the wall:
- Feel and press. Cool, soft, or spongy board behind the bubbles means active moisture in the material.
- Sniff the room. A musty odor that is strongest at that wall suggests the cavity has been damp for a while.
- Watch the timing. Note whether the patch grows after showers, laundry days, or rainstorms, and write it down.
- Check the other side. Look at the same wall from the next room and at the floor below for stains or swelling.
- Run the meter test. Turn off all water for a couple of hours and note whether your water meter's leak indicator still moves.
Skip the temptation to cut an inspection hole yourself as a first step. A hole in the wrong stud bay shows you nothing, and the leak may be feet away from the bubbles, since water travels along studs and plates before it soaks through. Measure first, open once, in the right bay.
How Professionals Find the Source Behind the Wall
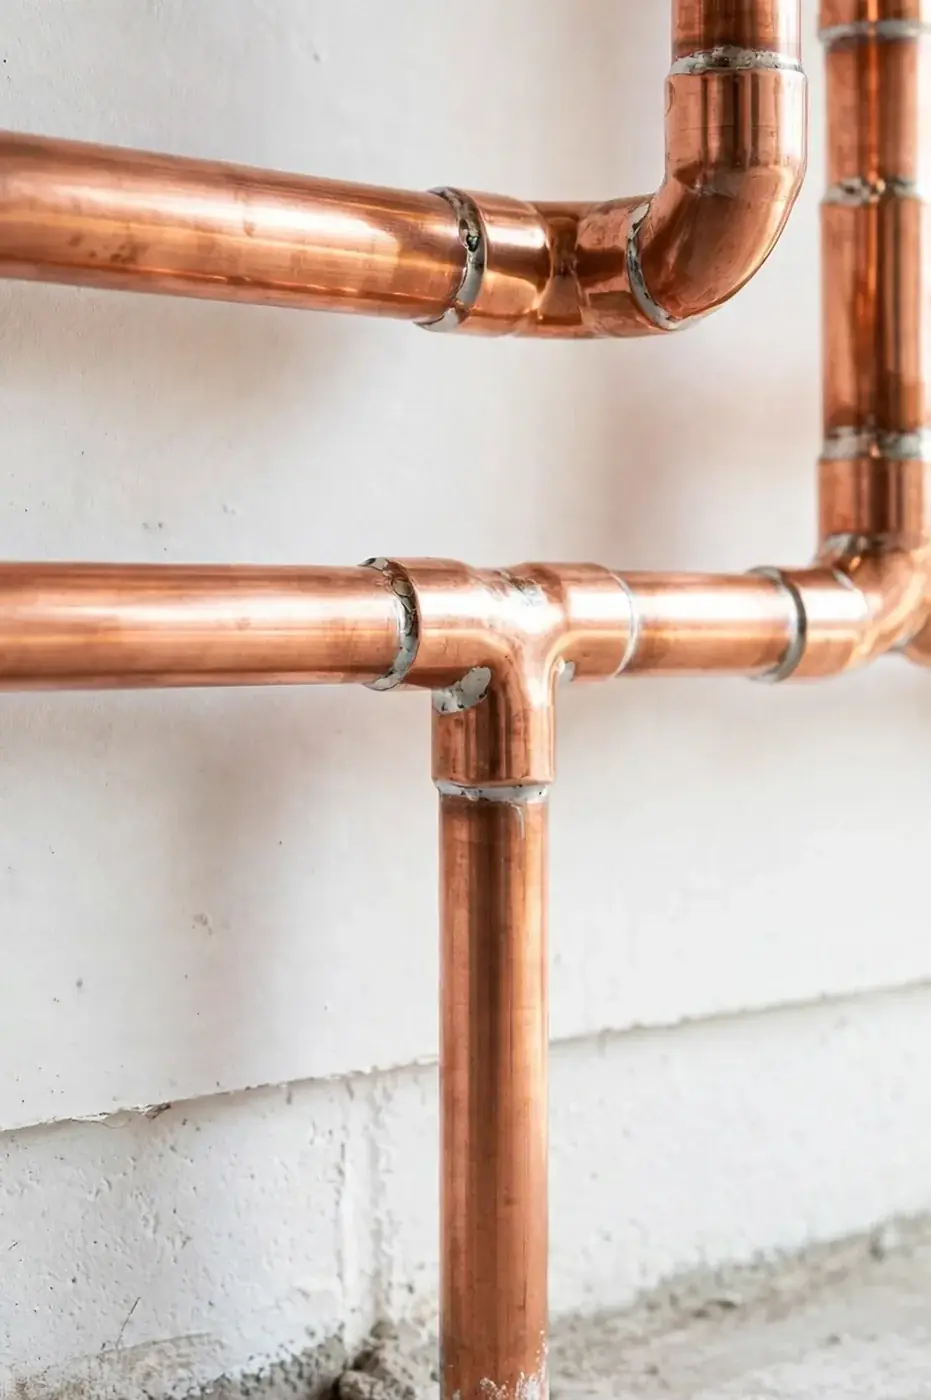
Detection starts with mapping, not cutting. A pin moisture meter reads the board at the bubbles and across the wider wall, drawing the shape of the wet zone. The wettest point, not the prettiest bubble, is where the trail leads. Thermal imaging then scans the wall for the cool signature of evaporation and can reveal a wet path running from a pipe or fitting. Acoustic listening checks whether a pressurized line inside the wall is hissing or dripping.
Where the pattern points to a drain or a fixture, controlled water tests isolate it: one fixture runs at a time while the wall readings are watched. ProLine Leak Fix Pros uses this sequence on moisture intrusion inspections across Snohomish County, confirming the exact source so the repair opening is small and the repaint that follows is the last one the wall needs.
Conclusion: Dry the Wall, Then Paint It
Bubbling and peeling paint is rarely a paint story. It is the wall telling you, in the only language it has, that water is living behind the finish. Read the pattern, check the timing, and follow the moisture to its source before any scraper comes out. A wall that is verified dry holds paint for years. A wall that is still wet will reject every coat you give it.
If the bubbles sit near plumbing, low on the wall, or keep returning after a repaint, have the source found properly. ProLine Leak Fix Pros traces hidden moisture in Lynnwood homes to its exact entry point, so you fix the leak once and repaint with confidence.