In This Article
New Tile Can Hide Old Mistakes
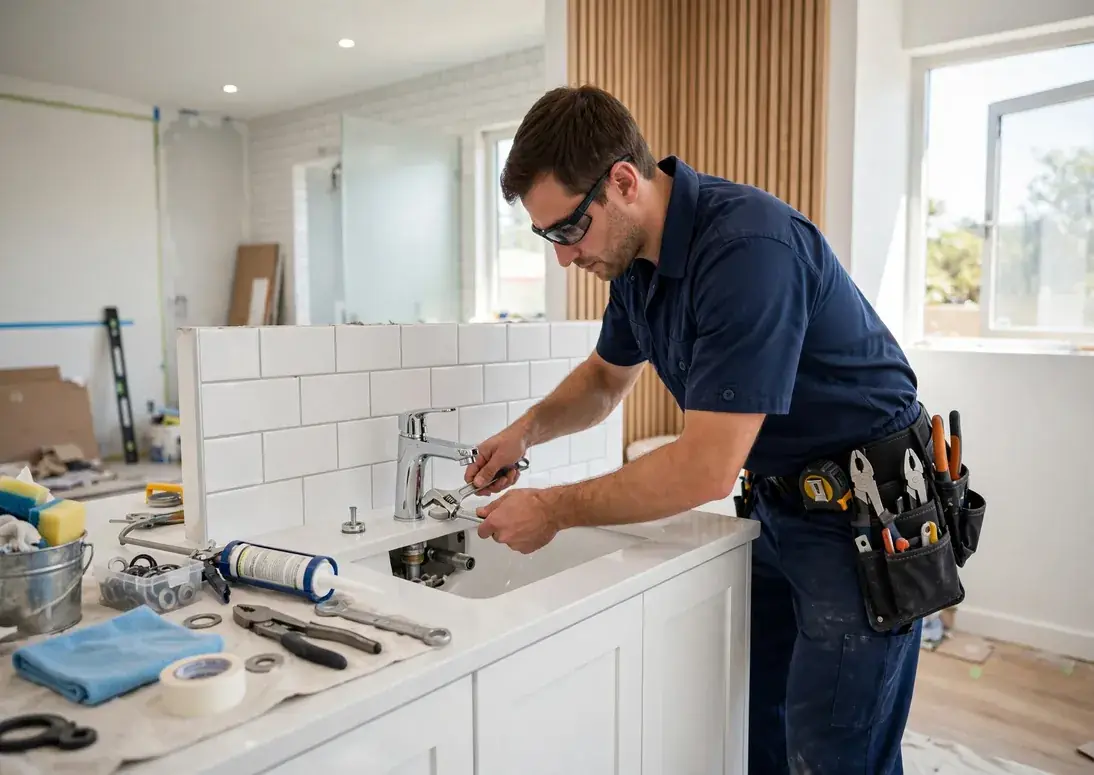
A finished bathroom remodel looks sealed and solid, which is exactly why its leaks are so frustrating. Water that escapes at a valve, a drain, or a shower pan does not show on the new tile. It travels behind it, soaking the wall board, the subfloor, or the ceiling of the room below. By the time a stain or a soft spot appears, the leak may have been running since the first week the new shower was used.
Remodel leaks are rarely random. They cluster around a short list of points where new work meets old plumbing, or where a step was rushed near the end of the job. If your remodel is recent and you see a warning sign, work through the usual suspects in order before assuming the worst. Most of them are single point failures with focused fixes.
Timing is a clue by itself. A leak that appears in the first two weeks of use often points to a connection that was never fully tight or a seal that was missed. One that appears after two or three months can follow the curing and shrinking of new materials, which opens grout and caulk joints that looked perfect at handover. Note when you first saw the sign and how it has changed. That short history helps a technician rank the suspect list before any test begins.
The Usual Suspects, Point by Point
Check these first when a remodeled bathroom starts to show moisture:
- Shower valve connections: fittings behind the new wall that weep under pressure and wet the wall cavity
- Shower pan or liner: a punctured liner, a blocked drain seal, or a curb that lets water escape at the corners
- Tub overflow gasket: a gasket that was reused or seated badly, leaking only when the tub fills high
- Toilet reset: a new floor over an old flange, where the seal sits too low and leaks a little with every flush
- Drain penetrations: openings around pipes that were never sealed, letting shower spray reach the framing
- Caulk and grout gaps: surface joints that crack as new materials cure and shrink in the first months
Note the pattern of the symptom. A ceiling stain that grows only after showers points up at the pan, drain, or spray paths. A wall that stays damp all the time points at a pressurized valve connection. That pattern is the fastest way to sort the list.
Add two more points to the suspect list in tiled showers. The shower door or curtain path matters: water that escapes at the door track or a low curb can run under the flooring outside the shower and look exactly like a pan failure. And the bench or niche, if you have one, collects water at its joints. Before blaming the pan, watch how water behaves during a normal shower. Sometimes the fix is a door sweep or a resealed joint, not surgery on the shower floor.
Simple Timing Tests That Sort the Cause
You can narrow a remodel leak with timing, a bucket, and patience. First, stop using the new shower or tub for 48 hours while using the rest of the home normally. If the damp area below dries out and stays dry, the leak is tied to that fixture. If it stays wet, look at pressurized supply lines instead, since those leak whether the fixture is used or not.
Then test one path at a time. Run water straight into the shower drain from a bucket without splashing the walls. Dampness after that test points to the drain or pan. Next, run the shower head against the walls and door as in normal use. Dampness only then points to spray escaping at joints, doors, or penetrations. For a tub, fill it past the overflow once and watch below. Each test rules one suspect in or out, and a written log of what you ran and when turns guesswork into evidence.
Write your test results down as you go: date, which test, how long the water ran, and when dampness changed. Feel the suspect area with the back of your hand, which senses damp coolness better than fingertips, and compare it with a dry area nearby. A simple moisture meter can confirm the difference, but even without one, a careful log of tests and timing gives a detection visit a running start and keeps the investigation honest if a contractor warranty discussion follows.
Protect the New Finish While You Investigate
The instinct to tear out new tile right away is understandable, but hold off. Random demolition usually removes the evidence along with the tile, and the leak can survive the repair if its true path was never found. Instead, limit water to the suspect fixture while you investigate, keep air moving in the room below, and photograph the stain or soft spot every day with the date. A stain that is mapped over a week tells a technician a great deal about the rate and direction of the leak.
Contact the remodel contractor early and calmly, with your photos and test log. Clear documentation helps everyone: it shows when the sign appeared, which tests you ran, and whether the problem is still active. Many remodel leaks in Lynnwood homes are confirmed and fixed through one small, planned opening once the source is known, instead of a wide tear out that ruins fresh work on a guess.
While you wait for answers, protect the rooms below. Move stored items away from the damp ceiling, and if the ceiling material feels soft or bulges, treat it gently and keep people from standing under a heavily soaked section. Do not paint over the stain yet, since fresh paint hides the growth pattern that shows whether the leak is active. A stain pencil outline with the date written beside it is a classic, effective way to prove growth over the following days.
How Professionals Confirm It Without a Tear Out
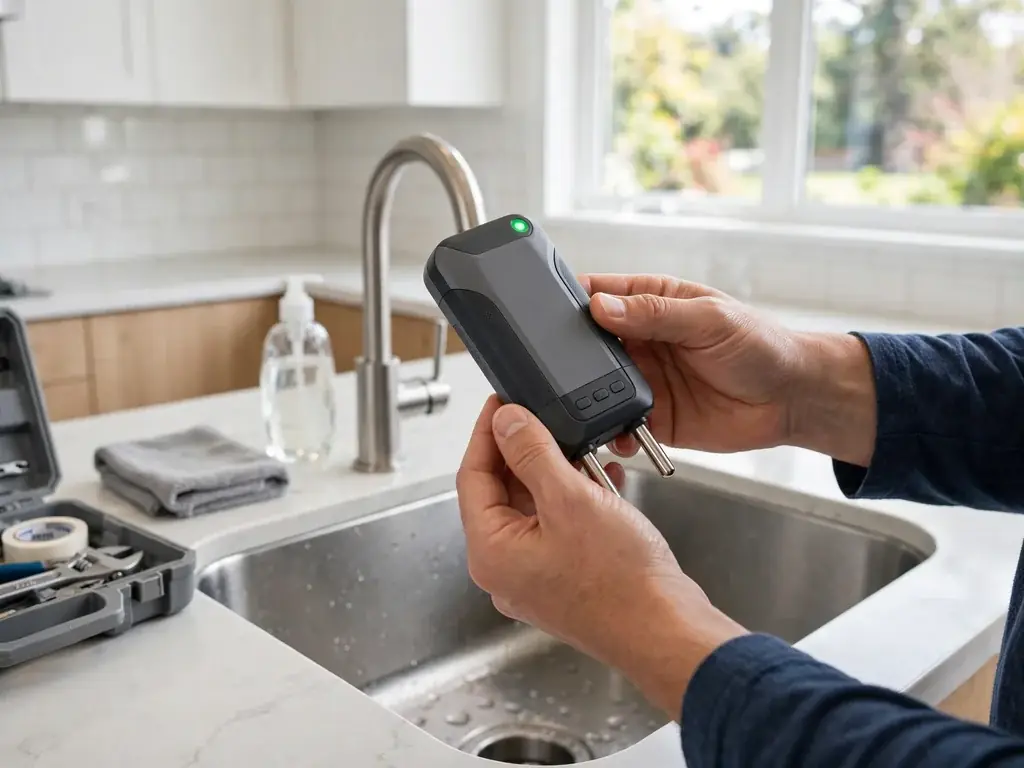
Detection is built for exactly this problem: new finishes over hidden plumbing. A technician starts with moisture mapping to outline the wet area precisely, then uses thermal imaging to trace how the moisture pattern connects back to a fixture, valve, or drain. Acoustic listening can hear a pressurized fitting leaking inside a closed wall. For shower pans, a controlled flood test with the drain sealed confirms whether the pan itself holds water or lets it escape at the drain seal or corners.
ProLine Leak Fix Pros serves Lynnwood and Snohomish County with acoustic, thermal imaging, and tracer gas methods, so the failed point can usually be named before any tile is cut. That protects your remodel investment twice: the repair opens only what it must, and the written finding gives you and your contractor the same clear target to fix.
Ask for the finding in writing, with the failed point named and the test that proved it. That document closes the loop with your remodel contractor, supports any warranty conversation, and guides the repair crew to open one small area, often from the ceiling below or an access panel, rather than through your new tile. Many remodel leaks are repaired from below or behind, leaving the finished bathroom untouched. Precise detection is what makes that outcome possible instead of lucky.
Fresh Work Deserves Precise Answers
A leak after a remodel is disappointing, but it is usually a single connection, seal, or pan detail, not a failed bathroom. Sort it with timing tests, protect the evidence, and resist the urge to demolish on suspicion. The pattern of when things get wet is the clue that leads straight to the cause.
If the stain keeps growing or the floor near the new tub starts to feel soft, get the source confirmed soon. Call ProLine Leak Fix Pros at (425) 380-0028 and let detection pinpoint the leak so your new bathroom is opened in one small place, not many.