In This Article
An Open Crawl Space Changes the Search
A pier and beam home sits on posts or piers with an open crawl space below the floor. Plumbing runs in that open space, visible to anyone willing to crawl in with a good light. That sounds like leaks should be easy to find, and sometimes they are. But the same open space also hides leaks in plain sight. A slow drip falls to the soil and vanishes. A drain leak sprays a fine mist that dampens insulation without ever forming a puddle. The rooms above can look perfect while the crawl space tells a very different story.
The good news is that a crawl space keeps receipts. Drips echo off hard surfaces, soil stains mark where water lands again and again, and insulation shows exactly where moisture has been. Learning to read those signs turns a dark crawl into a map of the plumbing above it.
Ventilation shapes what you find down there. A crawl space with good airflow dries small drips between events, which can hide an occasional drain leak for a long time. A closed, damp crawl keeps everything wet and makes even tiny leaks obvious. Neither is fully good news. The dry crawl hides problems until they grow, and the wet crawl damages wood even from small sources. Note how your crawl feels in each season, because a change toward dampness without a weather reason often means a new plumbing source has started feeding it.
Where Leaks Hide Below the Floor
Most crawl space leaks cluster at the fixtures above:
- Below bathrooms: toilet seals, tub drains, shower drain connections, and supply fittings for tubs and sinks
- Below kitchens: sink drains, dishwasher lines, and fridge water lines that run under the floor
- Below laundry rooms: washer supply hoses, standpipes, and drain connections that shake loose over time
- At the water heater: drain valves, relief line joints, and the cold and hot connections above the tank
- Along long drain runs: joints where drain pipes change direction or join the main line to the street
Supply leaks drip steadily, day and night. Drain leaks only appear when the fixture above is used, which is why a crawl can look dry at noon and wet after the evening showers. Timing your inspection right after the household uses water heavily gives the clearest picture.
Do not overlook the main line where it leaves the house. The joint where the home drain meets the line to the street or septic system works hard and shifts with soil movement over the years. A leak there may never wet the crawl directly under a fixture. Instead it shows as a damp trench along the pipe path or a green patch in the yard above the line. Include that run in your inspection route, and check any cleanout caps you pass for dampness or odor.
Reading Soil, Insulation and Sound
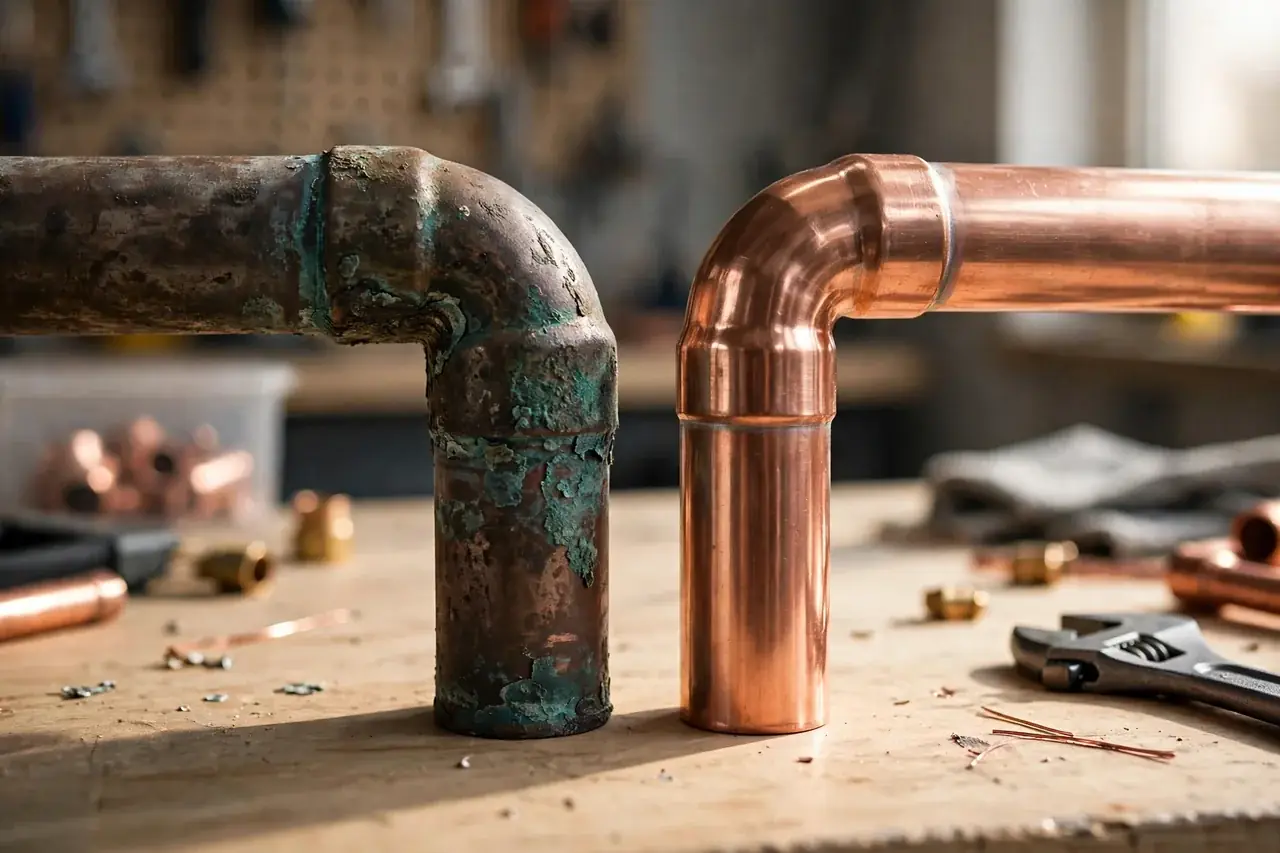
Start with the soil. Dry crawl space soil is dusty and even in color. A leak leaves a darker patch, sometimes with a slight depression where dripping water has packed the soil down. White crust can form where water evaporates and leaves minerals behind. Follow any stain upward with your eyes, and you will usually find the pipe joint or fitting that feeds it. Check piers and beams for water streaks too, since water often runs along a beam before it drops.
Insulation between the floor joists is the second witness. Wet insulation sags, darkens, and holds a musty smell long after the leak that wet it has stopped. Feel it with a gloved hand: dry insulation is light and springy, wet insulation is heavy and flat. Finally, use sound. In a quiet crawl space, a supply leak often ticks or hisses faintly, and the sound grows as you move toward it. Many homeowners in older Lynnwood pier and beam homes first find a leak simply by sitting still under the house and listening.
Beams and joists can also mislead you, so trace carefully. Water entering at one point may run several feet along the flat top of a beam before dripping, which means the wet soil is not always directly below the failure. When you find a drip, follow the wet trail upward and along the wood until it stops. The highest wet point is usually closest to the source. Mark it with tape and photograph it, so the finding survives after you crawl out and describe it from memory.
Safe Checks Before You Call Anyone
A basic crawl inspection is safe if you keep it simple. Bring a bright light, wear coveralls and gloves, and watch for wiring and sharp duct edges. Go in after the household has run showers and laundry, so drain leaks are active. Photograph every wet area with something in the frame for scale, and note which fixture sits directly above it. Do not pull down insulation yet, and do not start cutting pipes. Your job is evidence, not repair.
Pair the crawl check with the meter test. Turn off all water, note the meter, and recheck after one to two hours. If the meter moved, a supply side leak is active somewhere, and your crawl photos help narrow where. If the meter stays still but the crawl is wet below one bathroom, the problem is likely on the drain side, which the meter cannot see. That single distinction saves a lot of guessing later.
While you are under the house, look at the vapor barrier if one is installed. Pooled water sitting on top of the plastic, rather than soaking into soil, is a clear sign of a plumbing drip above, since rain rarely reaches the middle of a covered crawl. Note where the pool sits and which pipes run above it. If the barrier is torn or missing in patches, that is worth fixing later, but during leak hunting its puddles are useful evidence, so photograph them before anything is disturbed.
How Professionals Confirm the Exact Source
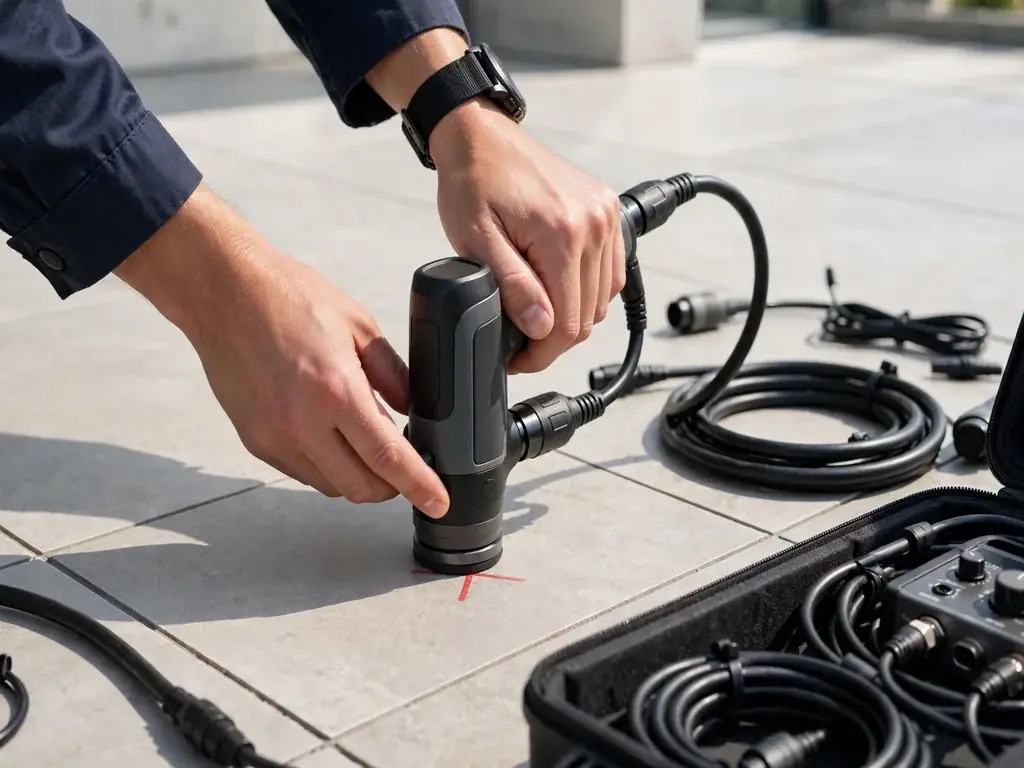
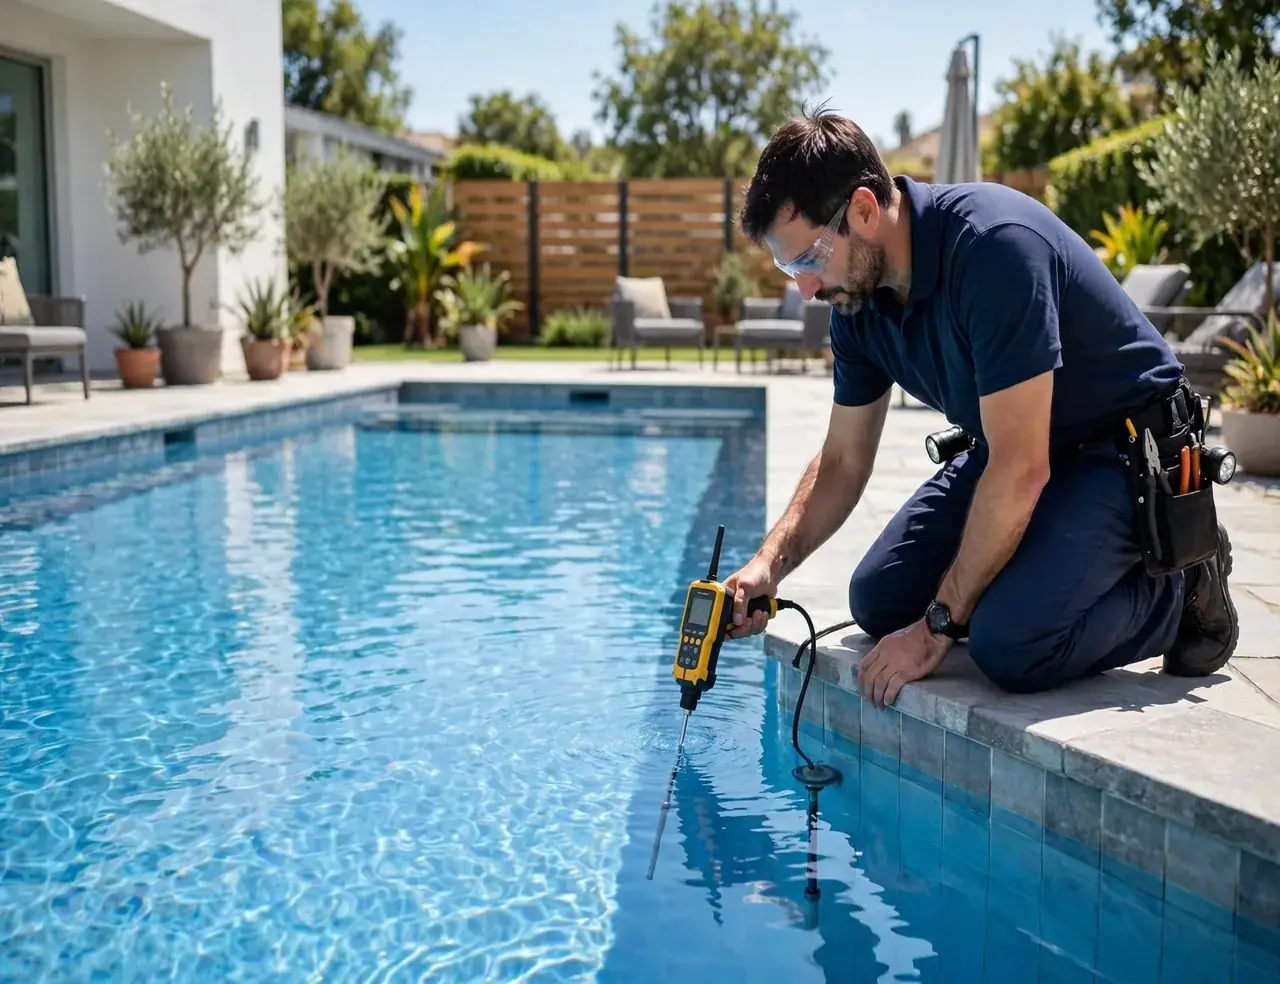
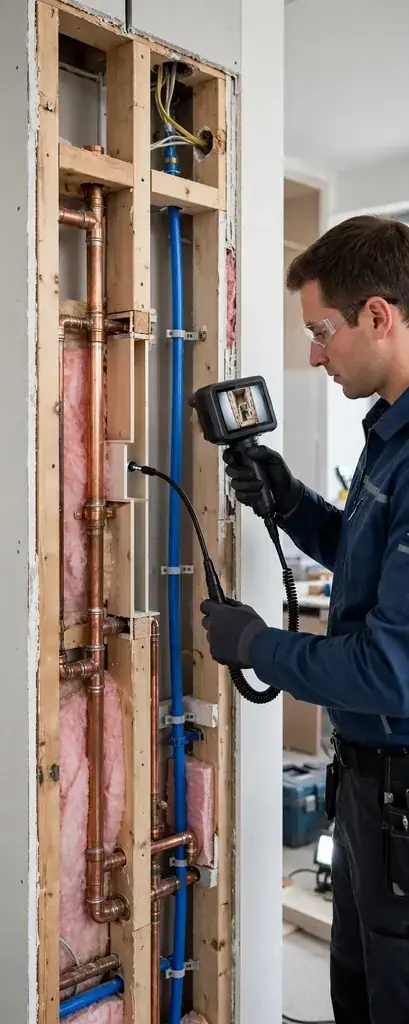
Even with visible drips, the exact failure point can be hard to judge in a dark crawl, because water runs along pipes and beams before it falls. A technician uses acoustic listening to confirm which joint is actually escaping, moisture meters to map how far the subfloor above has been wetted, and thermal imaging from the rooms above to connect crawl findings with floor damage. For drain questions, a camera inspection can look inside the line itself and show cracks, root entry, or a joint that has shifted.
ProLine Leak Fix Pros serves Lynnwood and Snohomish County with acoustic, thermal imaging, and tracer gas detection. In pier and beam homes, pinpointing first means repairs open the smallest possible area, and it confirms whether the floor structure above is still sound. That confirmation matters, because long term crawl moisture can soften subflooring and invite pests even after the pipe itself is fixed.
A good detection visit in a pier and beam home ends with two answers: the exact failure point, and the condition of the wood and subfloor around it. Ask for both. Moisture readings above the leak, in the floor of the room overhead, tell you whether drying is needed after the pipe repair. Catching that early prevents the soft floor and musty room that otherwise appear months after everyone thought the problem was solved. The pipe is only half the story under a house.
Let the Crawl Space Speak Early
Pier and beam homes give you a gift that slab homes do not: you can see your plumbing. Use it. Two careful crawl checks a year, one in the wet season and one after, will catch most leaks while they are still small. Read the soil, feel the insulation, and listen in the quiet. The crawl space almost always knows about a leak before the living room does.
If you find wet soil with no rain explanation, sagging insulation, or a meter that will not sit still, get the source confirmed. Call ProLine Leak Fix Pros at (425) 380-0028 and let detection pinpoint the leak so the repair stays small.