In This Article
Learning how plumbers access slab leaks with minimal damage starts with one rule: nobody should break concrete until the leak location is known. The old way meant jackhammering holes in several spots and hoping to hit water. The modern way pinpoints the leak first, then opens the smallest possible path to it, or avoids the slab entirely.
If you are facing a slab leak in your Lynnwood home, knowing the access options helps you ask the right questions and choose the least destructive fix. This guide walks through each method, how they compare, and what happens after the pipe is repaired.
Why Pinpoint Detection Comes Before Any Access
Every low-damage repair starts with the same step: finding the exact leak point. Professional slab leak detection in Lynnwood combines several tools to narrow the location to within inches:
- Acoustic listening picks up the sound of pressurized water escaping through sensitive ground microphones
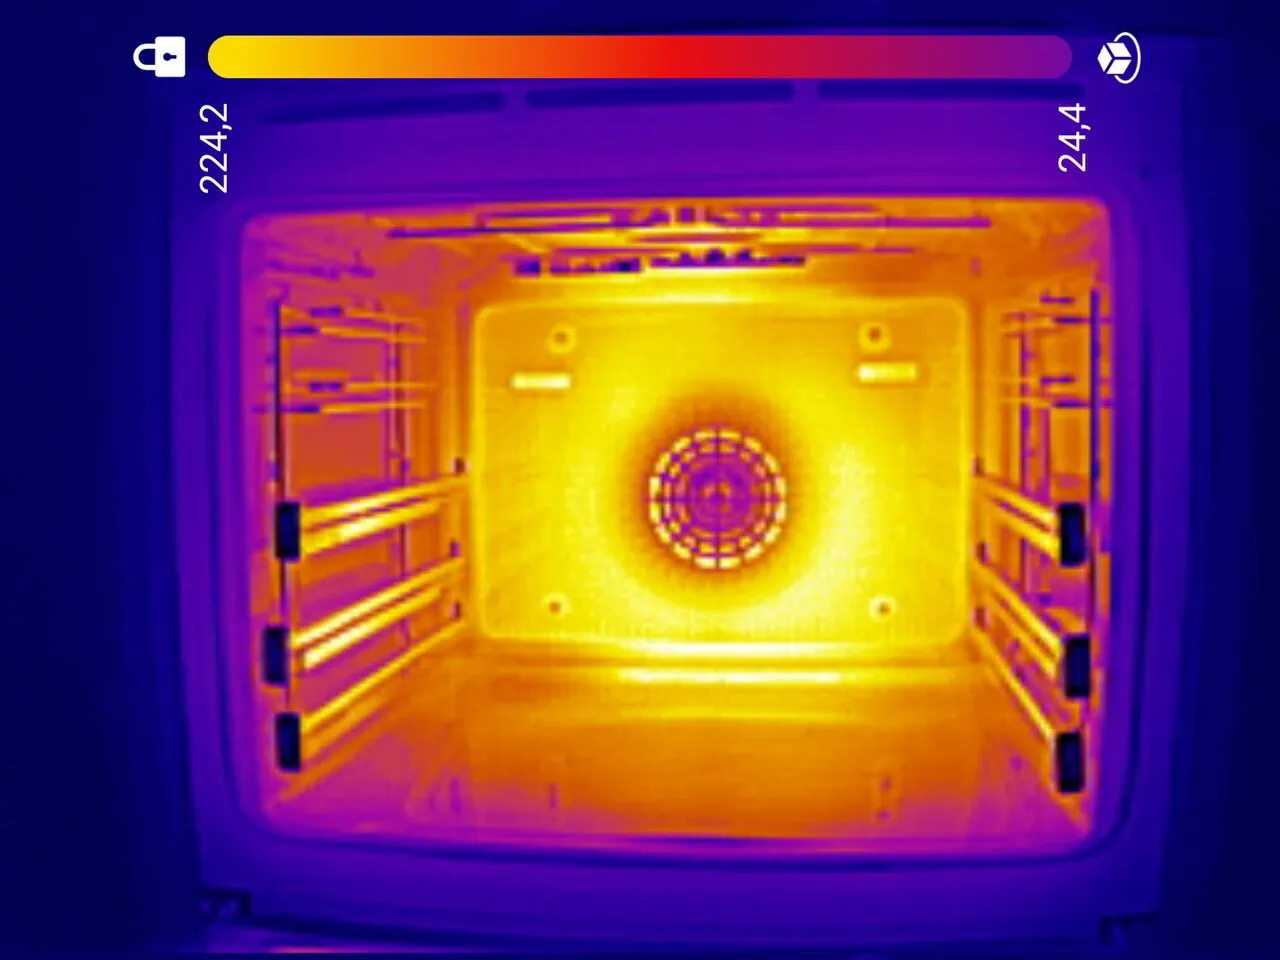
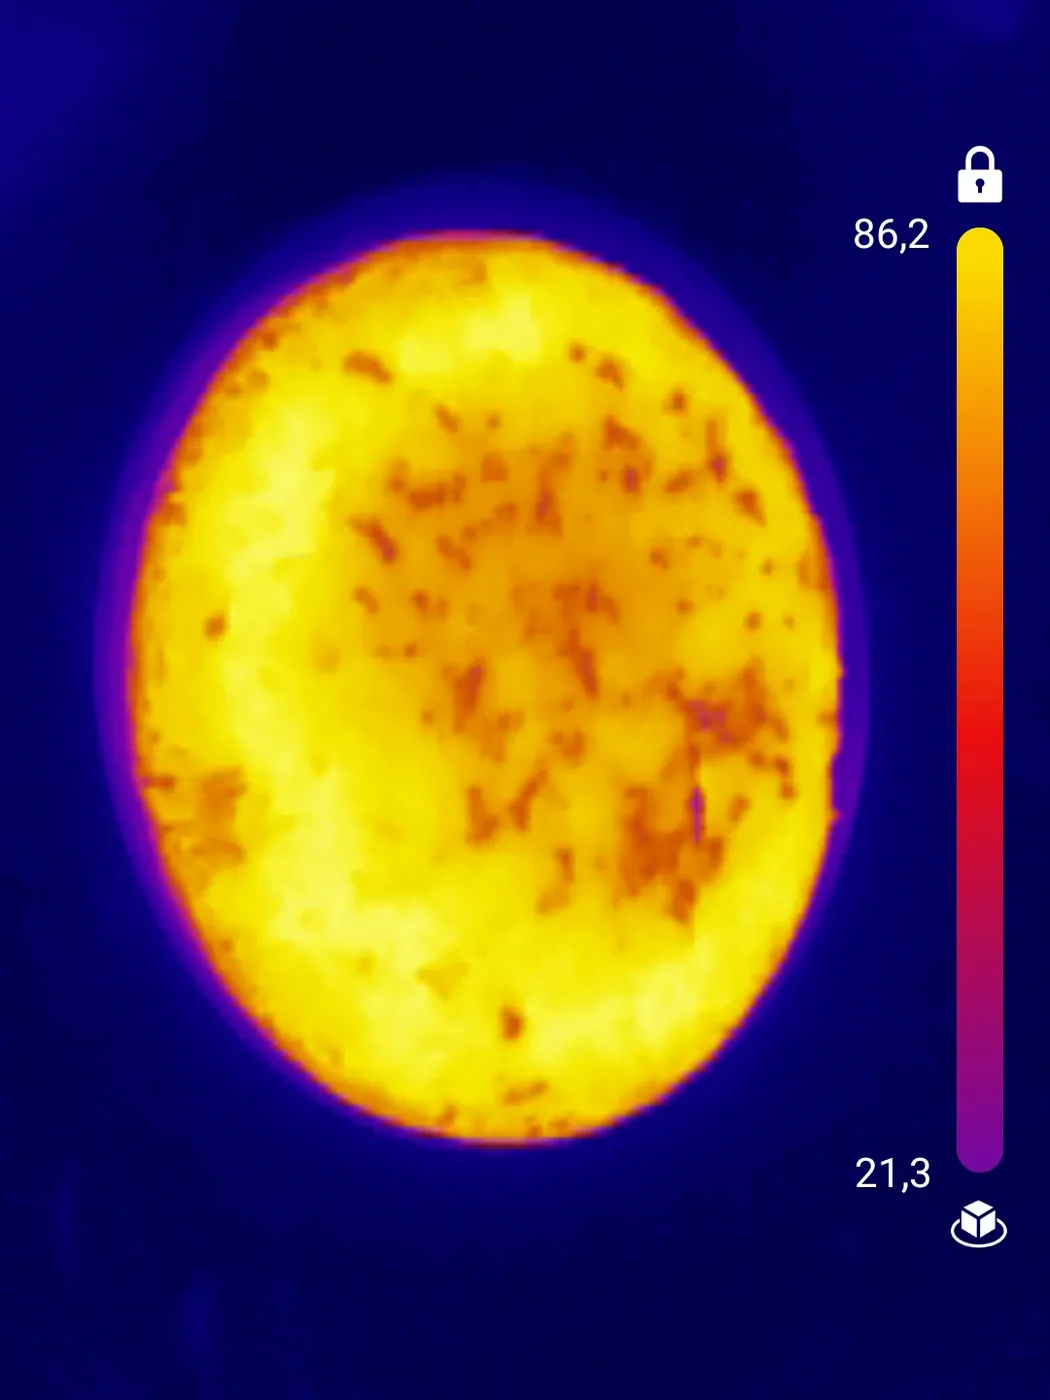
- Thermal imaging reveals heat or moisture patterns spreading through the slab, especially with hot water leaks
- Tracer gas testing introduces a safe gas into the line and sniffs out where it surfaces through the concrete
- Pressure and isolation testing identifies which line is losing pressure before anyone starts listening
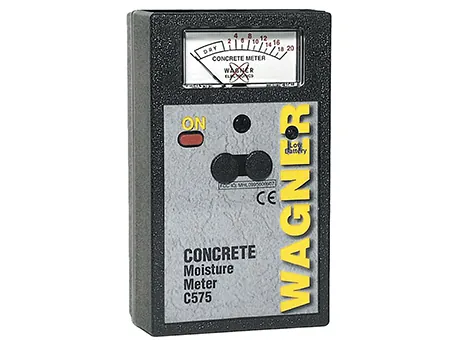
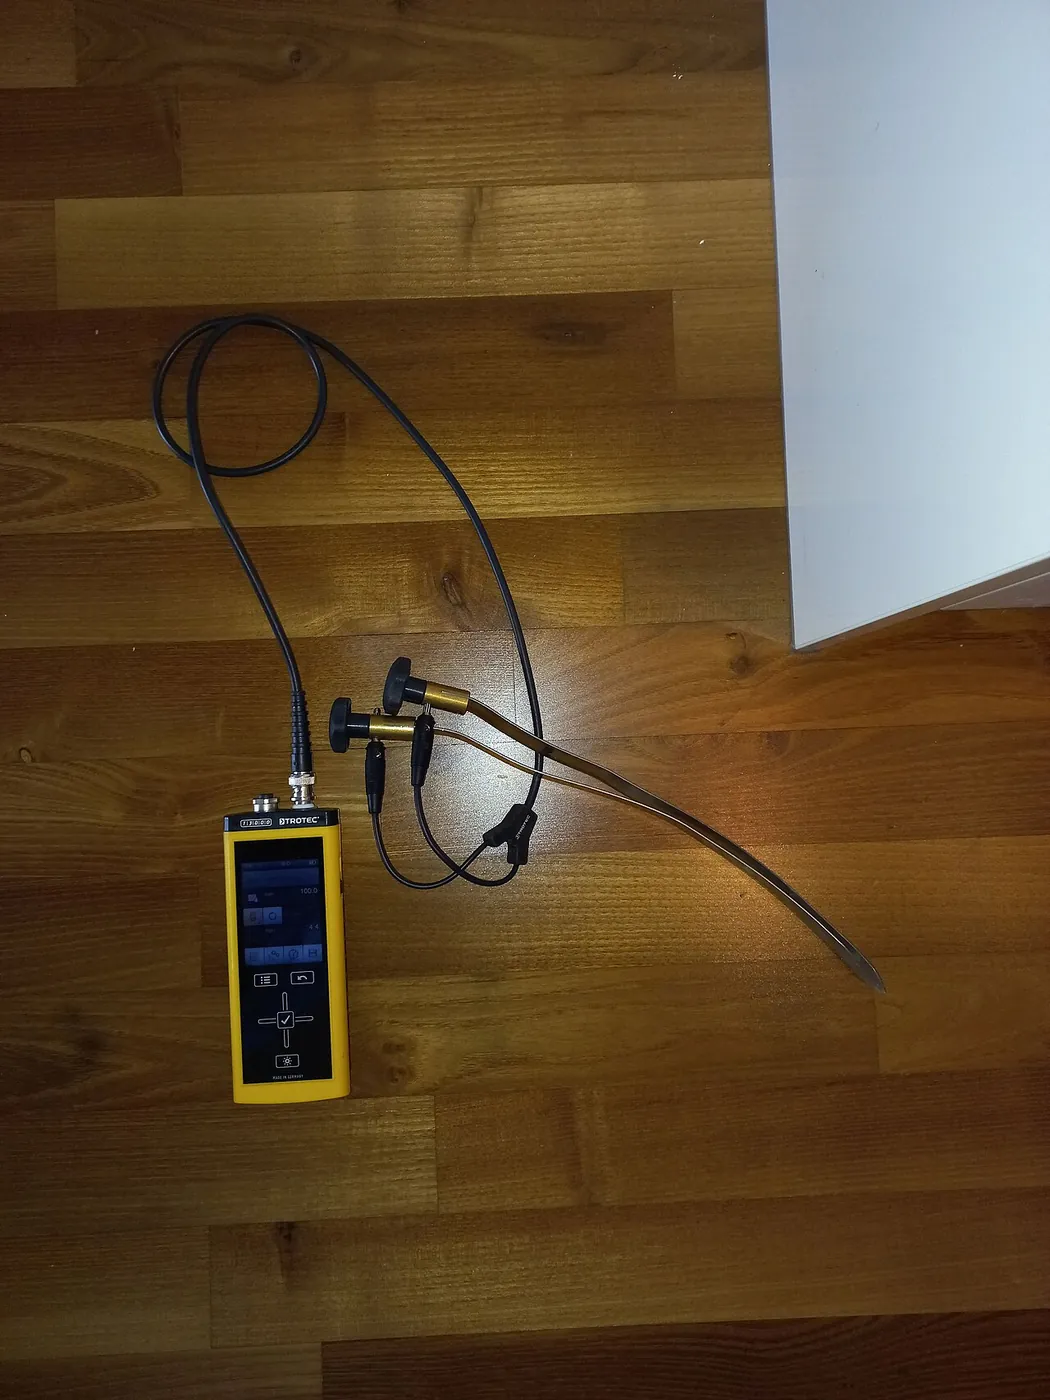
- Moisture meters map how far water has traveled so the repair plan covers the full damage zone
With the leak marked on the floor, the plumber can choose the smallest access path that reaches it. Without that mark, every method becomes guesswork and the damage multiplies.
How Plumbers Access Slab Leaks: The Main Methods
There are three main ways to reach a leaking pipe under a slab. The right one depends on the leak location, the flooring above, the slab type, and the condition of the rest of the pipe.
Method 1: Direct slab breakout
The crew opens a small, precise section of concrete directly above the marked leak, repairs or replaces the damaged pipe section, then patches the concrete. When the leak location is known within inches, the opening can be surprisingly small, often just a couple of square feet. This is the most direct method and usually the fastest, making it a good fit for leaks under the middle of the slab where tunneling cannot reach.
Method 2: Under-slab tunneling
Workers dig a small tunnel in the soil beneath the slab, starting from an access pit outside the foundation, and reach the pipe from below. The floors inside the home are never touched. Tunneling works best for leaks near the slab edge, under expensive flooring, or in post-tension slabs where cutting concrete is risky. It takes longer than a breakout but leaves the interior untouched.
Method 3: Overhead reroute
Instead of touching the buried pipe at all, the plumber abandons the leaking under-slab line and runs a new line through walls or the attic. No concrete is broken and no tunnel is dug. Rerouting is a strong choice when the old pipe is in poor shape overall, when there have been repeat leaks, or when the homeowner wants the line in an accessible place for the future.
Our pipe leak repair team in Lynnwood evaluates all three options against your leak location and flooring before recommending one.
Access Methods Compared
| Factor | Direct Breakout | Under-Slab Tunneling | Overhead Reroute |
|---|---|---|---|
| Concrete broken | Small opening at the leak | None | None |
| Flooring disturbed | Only at the opening | None inside the home | Minor wall or ceiling patches |
| Dust and noise | Moderate, brief jackhammering | Minimal indoors | Low |
| Best for | Leaks mid-slab, single clear spots | Leaks near edges, costly flooring | Aging pipes, repeat leaks |
| Key cost factors | Opening size, flooring replacement | Tunnel length, soil conditions | Line length, wall and ceiling repair |
The size of the repair is decided before the first tool touches concrete. Precise detection is what turns a slab leak from a demolition project into a surgical fix.
What Happens After the Repair
Fixing the pipe is only half the job. What follows depends on the access method:
- Pressure testing. The repaired or new line is pressurized and checked to confirm the leak is gone before anything is closed up.
- Concrete patching. Breakout openings are filled with new concrete, leveled, and left to cure. Proper curing prevents the patch from cracking later.
- Tunnel backfill. Tunnels are backfilled in compacted layers so the slab keeps full support underneath.
- Moisture drying. Wet flooring, baseboards, and wall cavities are dried with fans or dehumidifiers. Thermal imaging follow-up can verify that no damp pockets remain.
- Finish restoration. Flooring, tile, drywall, and paint are restored to match. Keeping spare tile or flooring from the original install makes this far easier.
Ask your contractor what the restoration scope includes before work starts, so there are no surprises between the pipe fix and the finished room.
How to Keep the Damage Minimal
- Insist on detection first. Any contractor who wants to break concrete before locating the leak is planning to guess.
- Get the leak marked in writing. A detection report with the marked location protects you if the repair crew changes.
- Ask about all three methods. If only one option is offered, ask why the others were ruled out for your situation.
- Protect surrounding areas. Dust barriers and floor protection keep the rest of the home clean during the work.
- Plan the finishes early. Line up matching flooring and paint before the repair so restoration does not stall.
- Consider a reroute for old pipes. If your Alderwood area home has aging copper with multiple past leaks, moving the line overhead can end the cycle for good.
Start With the Location, Not the Jackhammer
How plumbers access slab leaks with minimal damage comes down to sequence: locate precisely, then open the smallest path, or skip the slab entirely with a reroute. Direct breakout, under-slab tunneling, and overhead rerouting each have their place, and the right choice depends on your leak position, your flooring, and your pipe condition.
The common thread is accurate detection. Without it, every method is a gamble. With it, the repair is targeted, fast, and far less disruptive. Call ProLine Leak Fix Pros at (425) 380-0028. Call for availability and let our specialists mark your leak within inches, so the fix starts exactly where it should.